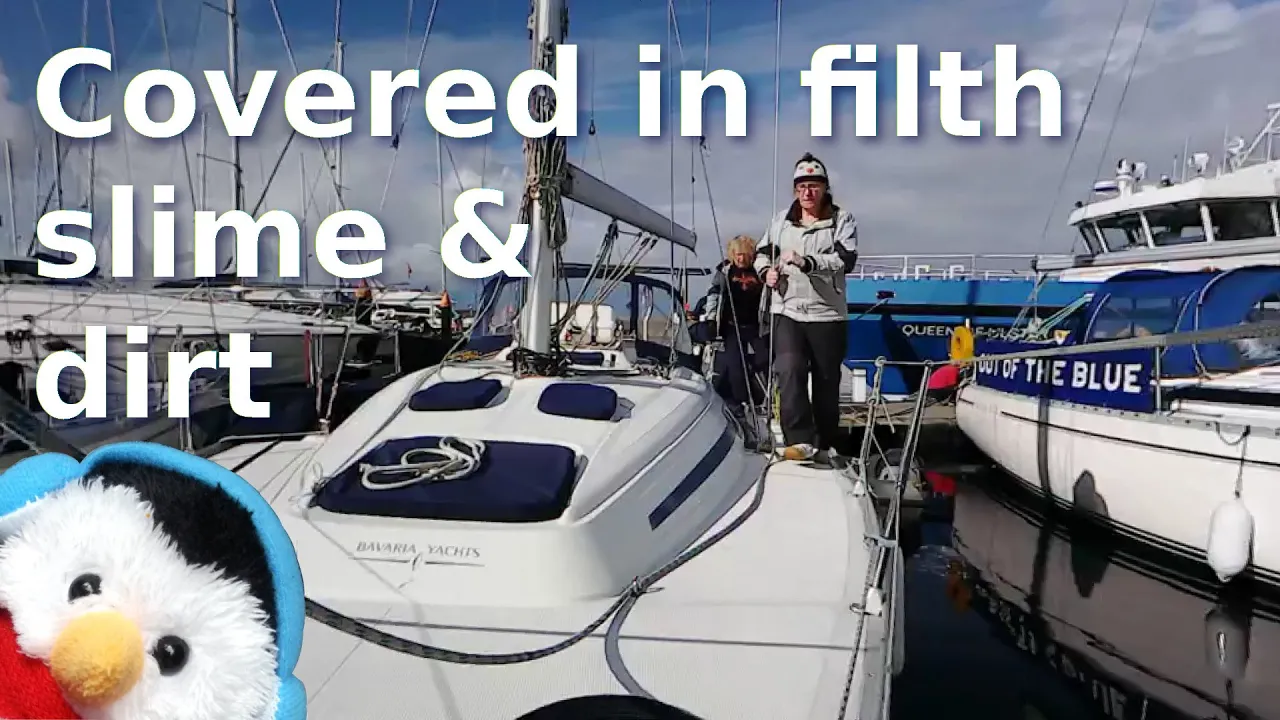
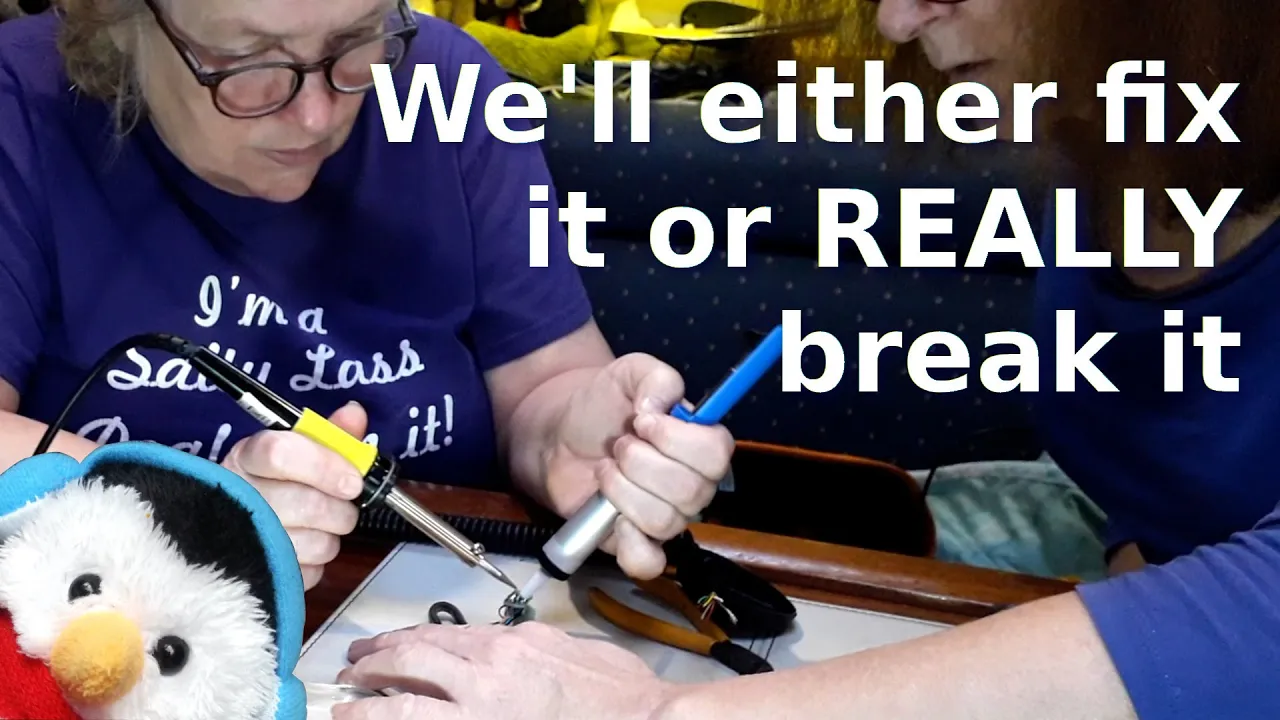
With our second week in the yard, it was time to crack on and remove our above water sea-cocks, and start on our toe rails and stanchions.
Cushions
Our cushions needed updating so I bought Dylon fabric dye in Denim. The pods cost between £5.00 and £7.00 and I used one pod per bunk and one pod per bed. It was a bit tricky removing the cushions covers but once that was done a machine wash to get them clean followed by a machine wash with the dye and soon the cushions were looking like new.
Sea-cocks and through holes
We were doing our above the water line sea-cocks and the first thing that needs to be done is remove them, I had wanted to use a method that I had seen on you-tube using a drill and some wooden blocks, but our fittings were so difficult to remove that we just decided to use the grinder. It is a destructive method but very effective.
- Sharpie - To make up the sea-cocks we found that if we put the sea-cocks together one way then the pipe would clash with the handle while using the opposite thread then it would not, so using a sharpie aloud us to mark the correct thread before we got out the PTFE tape.
- PTFE Tape - There are two grades of PTFE tape and if you are using the thinner grade then just wrap the tape aroung the fitting several times to make you oen thicker tape.
- Parts - for the seacocks we did look at the Marleon sea-cocks but there was not much room between the fittings so we used bronze fittings where we could, but for the sea-cock itself we bought DeZinced Brass which is still Lloyds certified so a good choice.
- Paper tape - To make a neat job cover the outside of the through hole with paper tape and on the outside of the boat, surround where the fitting will go with paper tape. this will make sure that the sealant you use will only go where you want it to go.
- Order - We made up our body of the through hole first, prepared the through hole, then put the through hole through the hull where lots of PTFE tape was added to the end of the through hole. Then the body of the sea cock and the through hole would be screwed together so that they were tight before we secured them with sealant.
- Sealant - For the sealant we used marine sealant because although it is sealant there are no adhesive properties and we will need to redo the sea cocks after five to ten years.
Toe rails and stanchions
This job takes a long time, but it is worth it
- Fairleads - There is no video of us re-bedding the fairleads, but we did that first. This meant that they would a guide for the toe rails. Once the fairleads were removed, they were cleaned before they were re-bedded with marine sealant.
- Impact driver - With the screws securing the toe rails the Impact driver is an essential tool, it really made light work of removing the toe rail.
- Two screw drivers - Once all the screws were removed we lifted the toe rail by tapping a screw driver under the rail. Although we used this method to start the process off, tapping the screw driver in slightly damages the toe rail, so once you get it going, lift the toe rail and slide the screwdriver under to the next section. If this doesn't work, use a knife first followed by the screw diver. Just take your time working on one bit at a time and it will come off.
- Cleaning - Once the toe rail is removed, then the deck as well as the toe rail needs cleaning before the sealant goes on. For this we found a Stanley blade, as well as a drill bit and a countersunk bit to clean the holes. We also used a normal scrubber and water followed by acetone to remove the remaining glues.
- Paper tape - After cleaning use paper tape on the deck, the toe rail and the side of the hull. With the side of the hull, you can put this tape on before you remove the toe rail as this required very little cleaning.
- Sealants - In some places the seal on the deck joint had gone so in those areas we used a marine sealant, as well as on the joints between the toe rail and deck
- Stanchions - These are bolted to the deck rather than screwed so to re-bed these we used butyl tape
- Galvanic corrosion - this happens when you have dissimilar metals together, like the securing screw and the base of the stanchion. To guard against this in future we used Duralac.
- Pulpit - Care had to be used around the pulpit to remove it especially as cables run up the inside of the pipe work
- Time scale - We did other minor jobs as well but we took eight days for the whole job
- One day - Fairleads, removal and re-bedding
- One day per toe rail - Remove, clean, seal deck joint and put back on, we had four of them so four days
- One day - Pulpit removal, yes it really did take us the whole day to remove the front pulpit
- Two days - Stanchions, cleaning and re-bedding
- Testing - Run water over all of the deck to make sure that you have no leaks
Cupboards
For some bizarre reason we had steel screws in the back of the cupboards, so with all the toe rails sorted, I put all the cupboards back with stainless screws. I also varnished the one or two places where the varnish needed redoing
