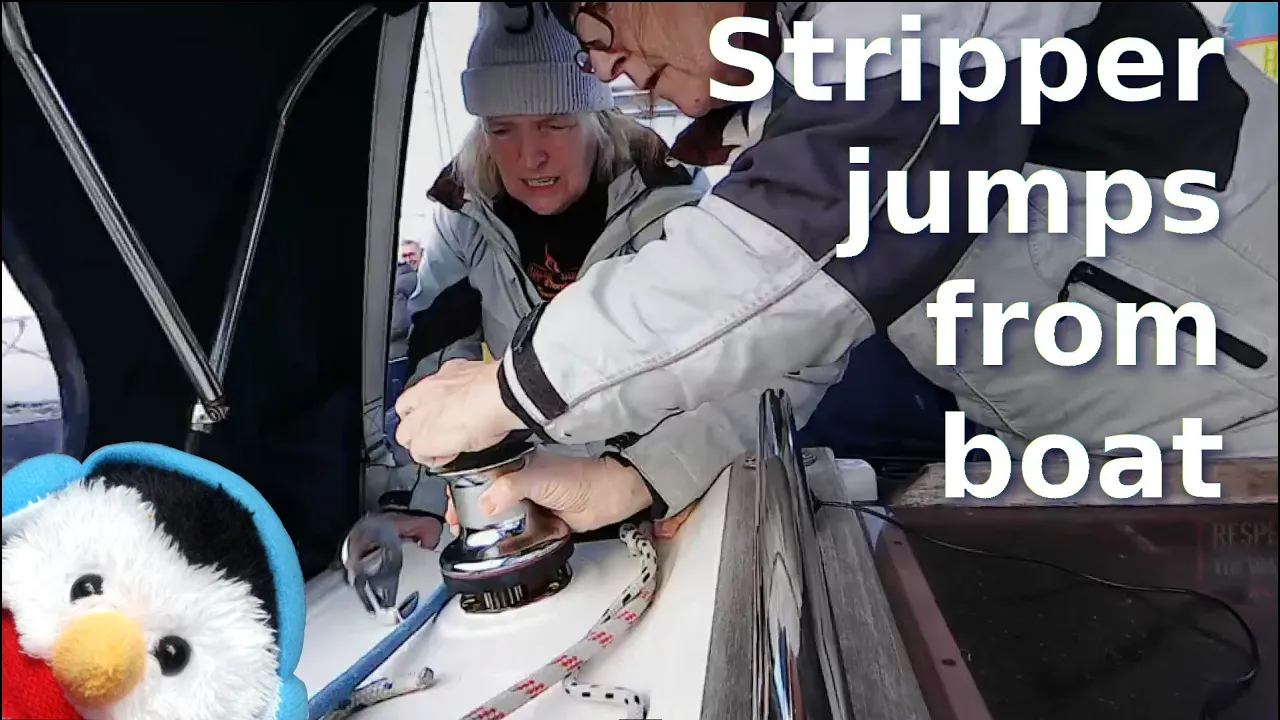
We had travelled late from Carrickfergus because we had hoped that the weather would get milder as the evening progressed. However, we had got kicked about and anchored in the dark. Well now it was the next day and we needed to get Salty Lass lifted so that we could change her anode.
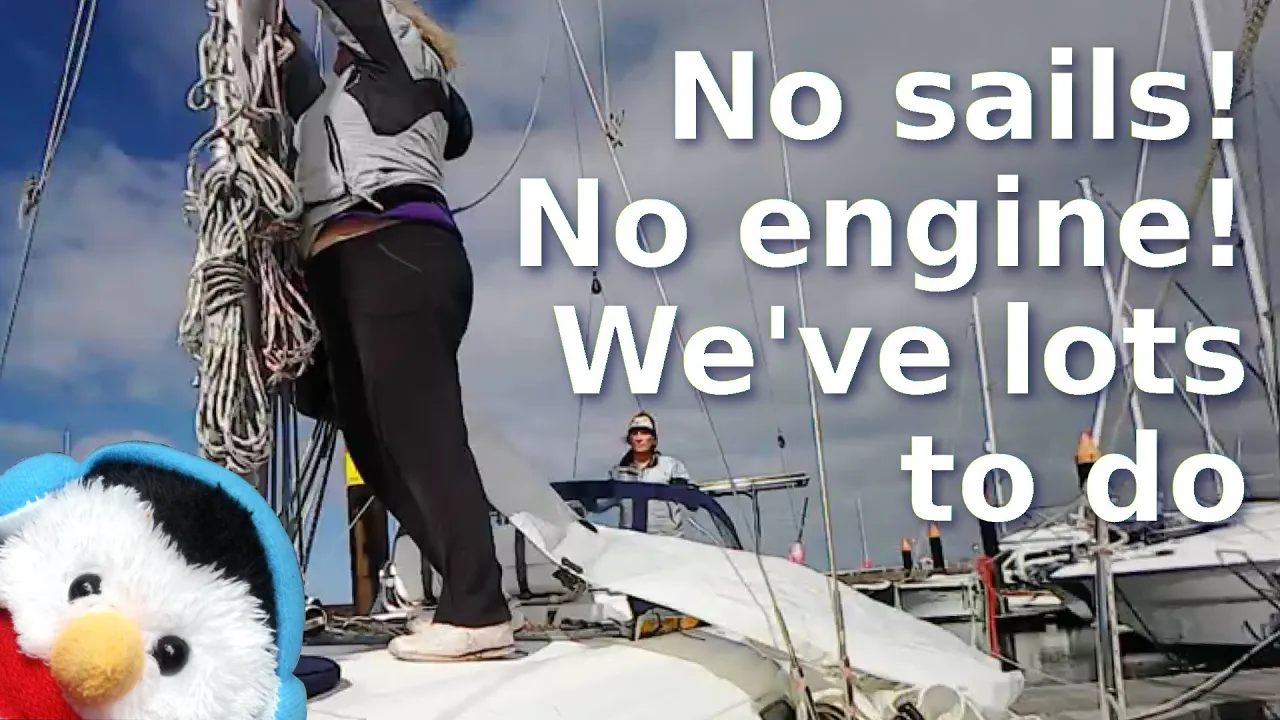
Beverley decided to let the cameras roll so that you could get an idea of what happens on a sail boat at the start of a journey
- Get the instruments ready - We cover the instruments with cloth for protection plus plastic covers for additional protection on instruments such as the chart plotter. The one instrument that is not covered, the inclinometer, has already suffered from UV degradation, but at the moment it is still good enough to use
- Gloves - We have two pairs of gloves each. Good quality which we use for the helms person and poor quality gloves that we use for doing jobs like the anchor
- Starting the engine - Before we start the engine we always use our before sailing checklist then up in the cockpit we
- Turn on the ignition - We always leave this off as it can drain the battery, or at least it did once for us before we had the solar panels
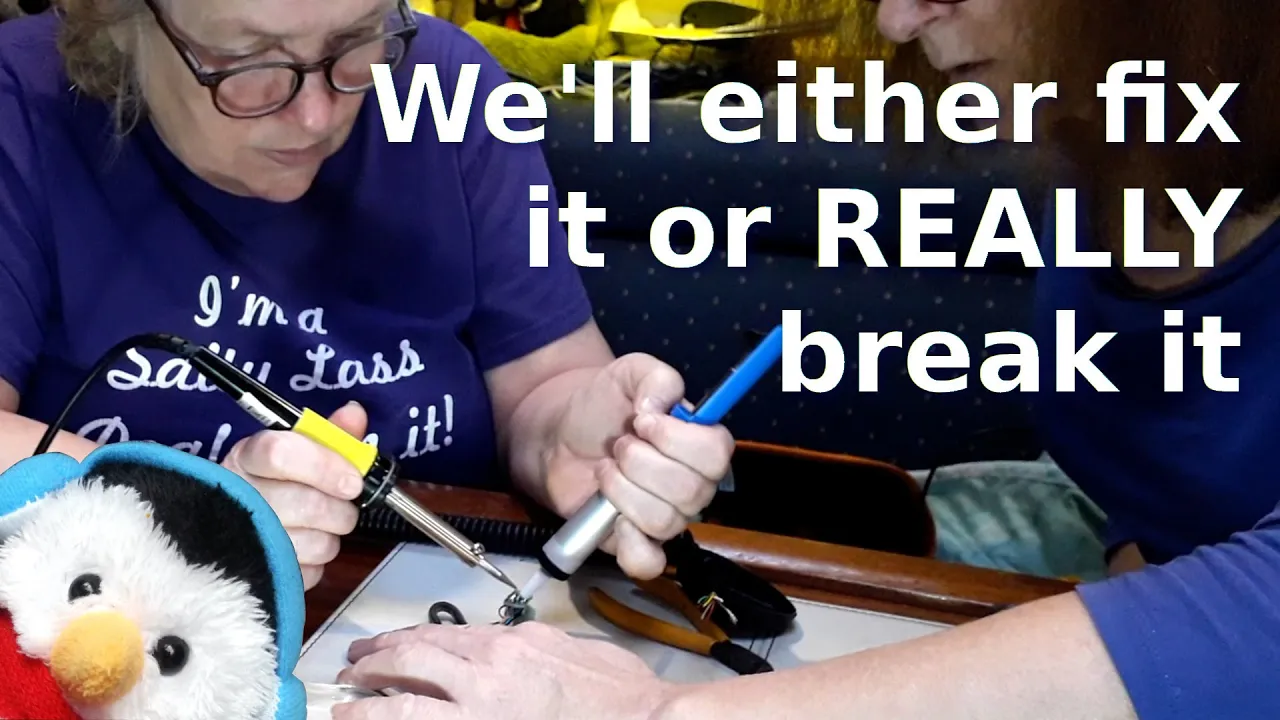
- Check the alarms - We have a switch that checks the alarms, at the moment we have an issue on wet days, that we are trying to sort out, but because we had been using the engine recently, behind the switch panel was dry so the alarm sounded
- Warn the engine - After the alarm test we use the glow plugs to warm the section of the engine where the diesel gets compressed and ignites. we usually count to 10 before we press the start button on the engine
- Count the splashes - We check that the engine is splashing merrily, we always ignore the initial splash as that is the water lock emptying, but we check that there are about 6 splashes after that
- Ready the Genoa - Even when we expect to motor the entire journey, like we are doing today, we always ready the Genoa, so that we can use that if we have to, to get the Genoa ready we
- Put the spinnaker lines to the mast - We call these lines the Americans as they are Red and Green and the red is to Starboard and the Green to Port like American buoyage system IALA-B
- Free the furling line - It needs to be available for usage rather than tied to the back rail
- Check radios - As well as the main radio we have a mobile which we check and keep upstairs
Pulling up the anchor
Once Salty Lass was ready for sea we pulled up the anchor so we:-
- Get the equipment ready
- Boat hook - We use this to lift the anchor buoy which we deploy where there could be an issue with the sea bed because of old moorings or other ground tackle
- Anchor control - We need that for using the electrical winch, we usually fit the control first, then turn it on. This way we are reducing the risk of electrical faults
- Lifting the anchor - To reduce the strain on the boat equipment, the person on the front directs the helmer so that the boat is above the chain, we use a set of hand signals for this
- Securing the anchor - In this particular case we had to secure the anchor first before we got the anchor buoy, but usually it is the other way around
- Pick up the anchor buoy - Use the boat hook to bring the anchor buoy up as soon as possible. If the wind is blowing off the anchor buoy like it was for us, make sure that you do not drive over where you think the buoy is.
- Secure the equipment - We have two snubbers and these are stored in the anchor locker
- Clear the decks - Make sure that the front of the boat is clear of boat hooks, anchor markers etc. Also close the anchor locker
Anode change
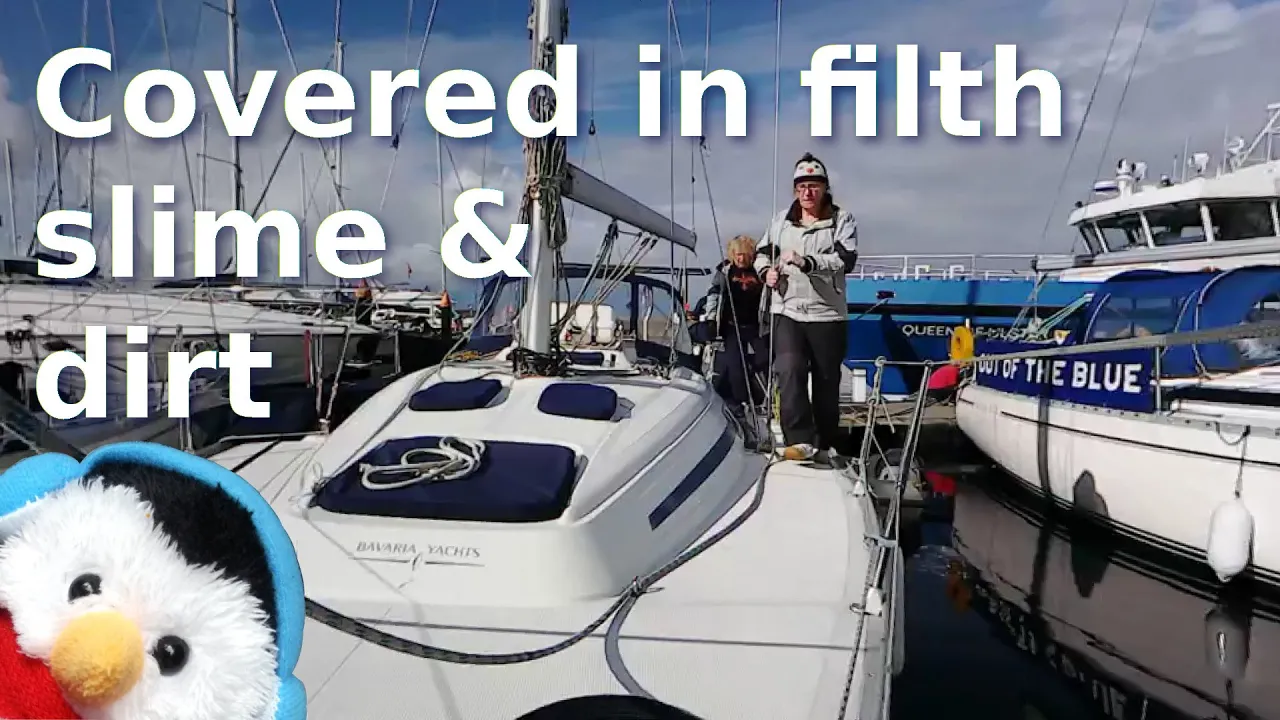
Once we were away from the anchorage, we had Salty Lass lifted so that we could get her anode changed and her bottom cleaned. Considering we had seen weed growing on Salty Lass a couple of days ago, that was all gone because of the thumping that we had had in Belfast lough, so now all we had was slim, which was soon washed off. The anode did need changing so after Salty Lass was cleaned, we just got on with the job, making sure that we used Duralac on the screws to stop Galvanic corrosion and lots of marine grease to keep the propeller turning well
Wash boards
After the anode change, we went back to the anchorage for a quite nights sleep. The quite night was met the next day by a storm so we decided to go back to Bangor Marina. Rather than mope, we put our time to the best use that we could and that was to make some washboards. So we
- Created a curve template - We needed to cut the aluminium channel with a curve, so we created a little tool that traced the curve onto a piece of cardboard. To make the tool all you need is a piece of card with a point on it so that you can trace the curve. Then put a pencil through a hole in the cardboard, then as you trace the curve, the pencil will trace out the curve onto another piece of card for you.
- Punch holes - Once we had cut the aluminium track to the correct shape, we needed to drill some holes, so we punched the track where the holes were going, this stops the drill slipping
- Oil your drill - If you oil the top of your drill then the drill will go around smoothly and is less likely to gouge bits out
- Create a door template - To make our door we cut strips of cardboard out, then we joined them together using tape. We made sure that the pieces of cardboard did not skew by putting triangles in at the corners
- Cut your wood - We then used our template to cut the wood
- Clean with white spirit - After sanding we cleaned the washboards with white spirit
- Varnish - We put a few coats of varnish on to protect the wood
Small disasters
We had bought our ply board from B and Q and it was so inadequately glued that the ply board split apart. We will not be buying wood from them again. Then our template got wet so that we had to use our own measurements and I'm afraid to say, Beverley got these wrong, so we now have a feature down the middle
