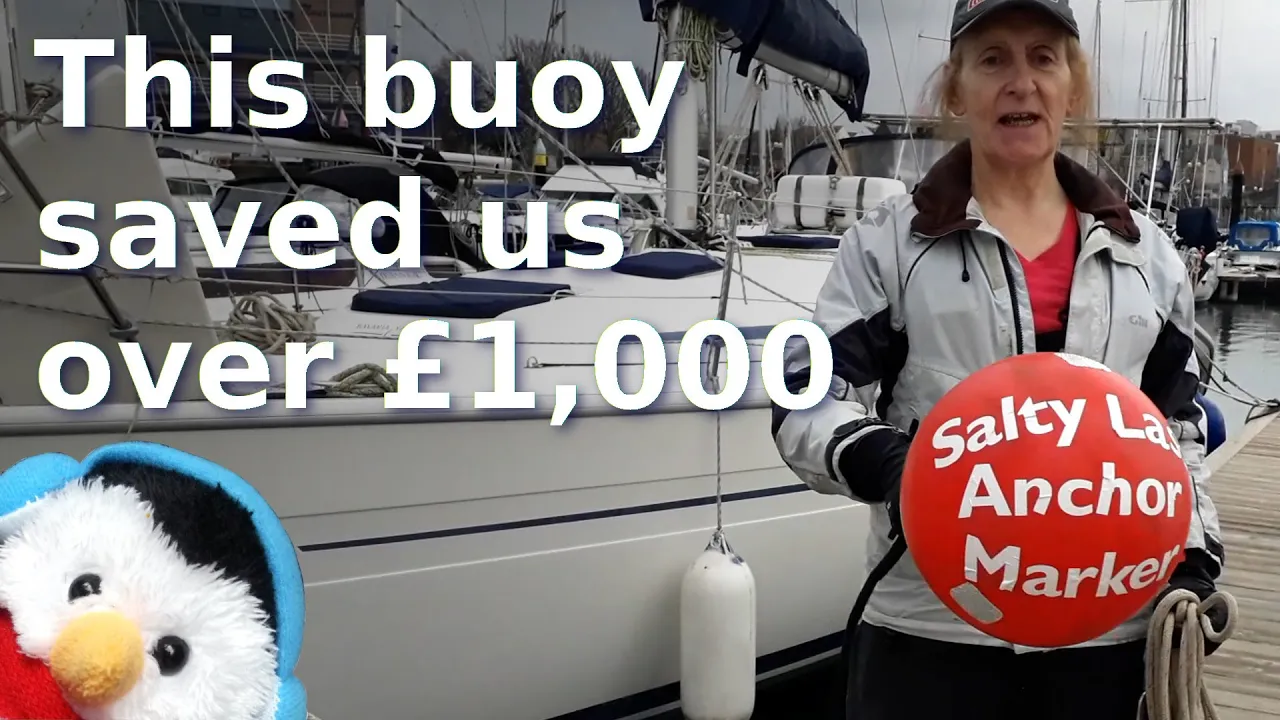
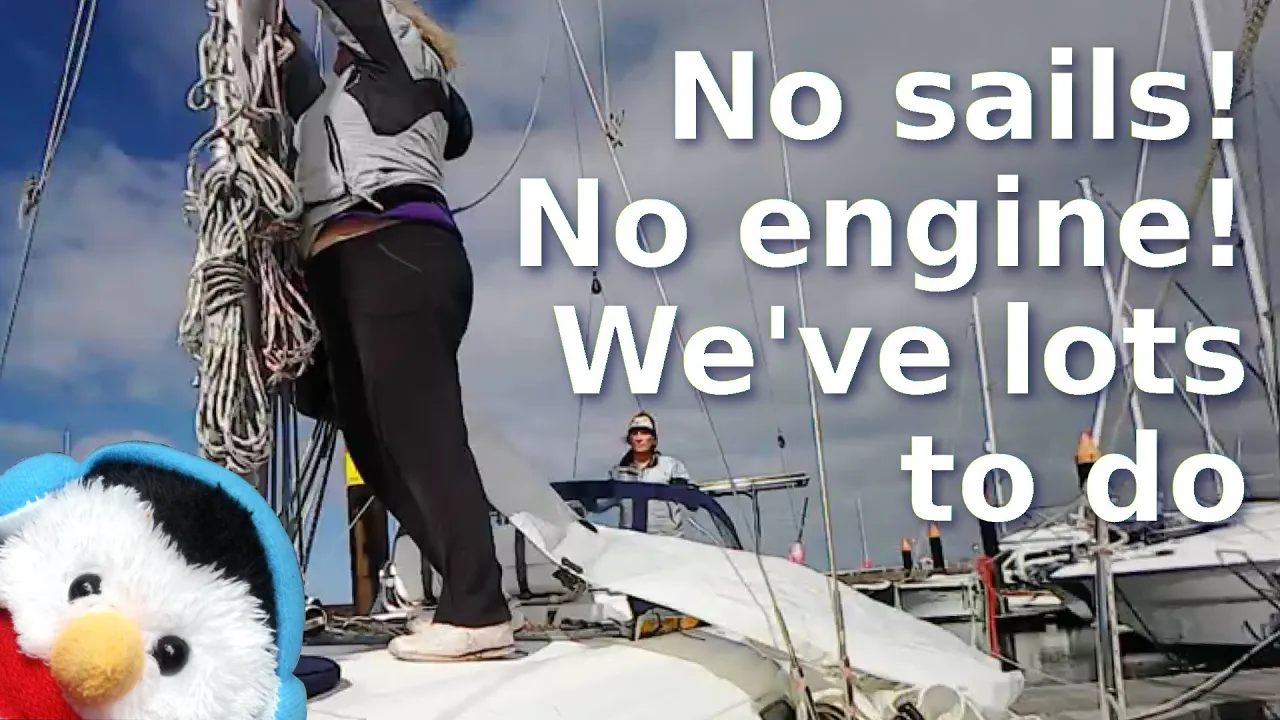
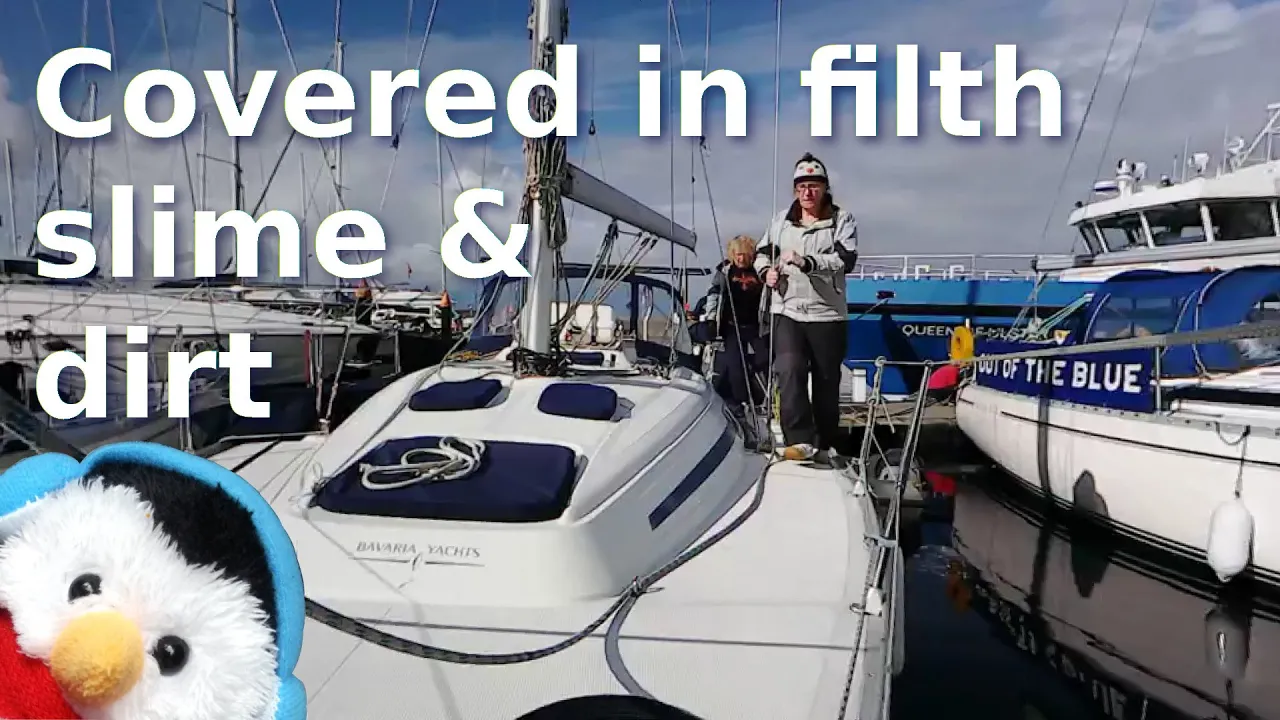
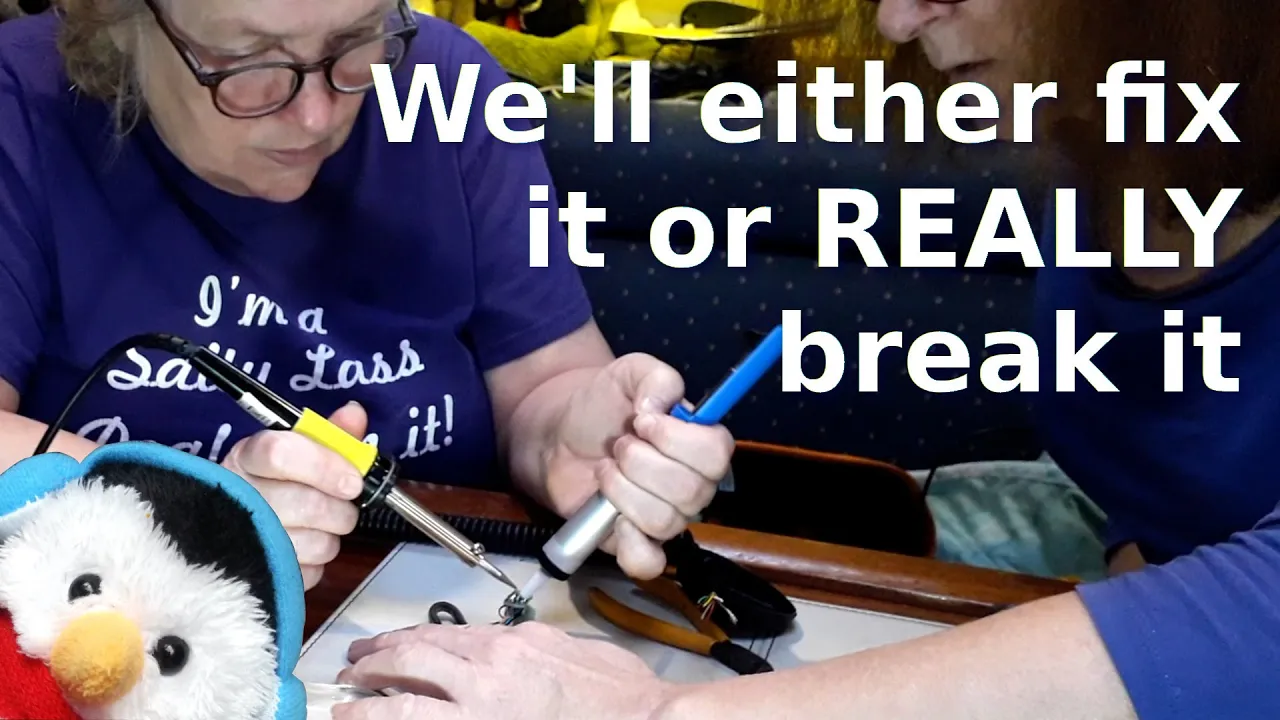
The weather at the moment, just seems to be one thing after another if its not storms, then it is snow, not much snow I grant you, but still snow. Our dream is to sail south and not worry about snow and storms, but for this year at least we will be staying closer to home. With the snow also comes the promise of better days, warmer days and just days we can get out and go somewhere. So with that its time to start the long process of getting Salty Lass ready to go.
Fenders
As the wind pushes Salty Lass onto the pontoon, then air is pushed out of the fenders, so from time to time you will need
- Fender pump - There are lots of different ones so just type fenger pump into Google search. We bought a dedicated fender pump purly because we live in a marina so fender pressure is something that we loo at
- Olive oil - There are other oils you can use, but they must ne organic based lie cooing oil
Just rubbing the sides of the adaptor with a little bit of olive oil, just makes the process of sticking the adaptor into the finder easier.
Sails
We had to get the sail down so that I could get to the sail bag. so one of our tasks was to measure the size of our sail, so what we discovered was that the sail area for our third reef is just under 9m² while for our sized boat the sail area for a storm sail should be 8m² so we asked an expert from Saturn Sails and they said, you design your sail when its being made to have four reefs in, this is so that the battens and reefs do not collide. A four reefed sail is ideal for people who are sailing around the Arctic areas, but for cruisers like us it is not necessary, especially as our third reef is very close in size to the size of a storm sail.
From time to time these need to be cleaned. There are specialist cleaners that will do that for you. In Northern Ireland there are none, but if there was one we would of got our sails laundered at this time.
Shout outs
With a shout out to Saturn Sails Beverley added in a few more shout outs
- Thank-you to Hugh off SV Queen Bee for a little polarity tester, we will be turning it into a tool in a later episode, but thank-you.
- Thank-you to Rob and Jen on Sailing Valopia, they come from Liverpool and they gave us a shout out, so its just good to reciprocate
- Thank-you to Daniel Gallagher from Sailing North. He gave us some lines which we used to change some of our fender lines and he loaned us a storm sail so that we could look at that.
Washing the lines
One of the things that you should know for your Yachtmasters is care of lines. So with the summer coming up, and the main sail down we removed as mush line as we could.
- Preparing a line for the wash. Put a slip knot into your line, close to the end. At the end use a single or double sheet bend to secure to another line. You can then use this line to attach to a cleat winch or other static point. Once done you can use the slip knot to start a simple chain. Once the chain is complete secure the two ends together so that the chain doesnt come out. We use zip ties for this so that the whole chain is in a circle.
- Washing the lines. You can use a standard washing machine to wash your lines
- Top tip - Take a photograph of your kicker and main sheet before you start so that you now how to put your lines back after they are washed.
- Reefing lines - These have to be hand washed so get a soap for hand washing, some warm water and get cracking. Rinse with clean water.
Repairing the sail bag
There are several issues with our sail bag, one of which was the zip was rotten
- Open ended zip - When I made the video they were called closed, but now they are open ended zips which is far better. They open and split, which is what you need
- Open zip - These are cheaper but they don't have ends which means you have to put the end on
Stopper knot
Stops a line going through the clamp. Stopper knots are usually at the end of lines but for our topping lift, we moved it so that our boom now stops at the canopy.


