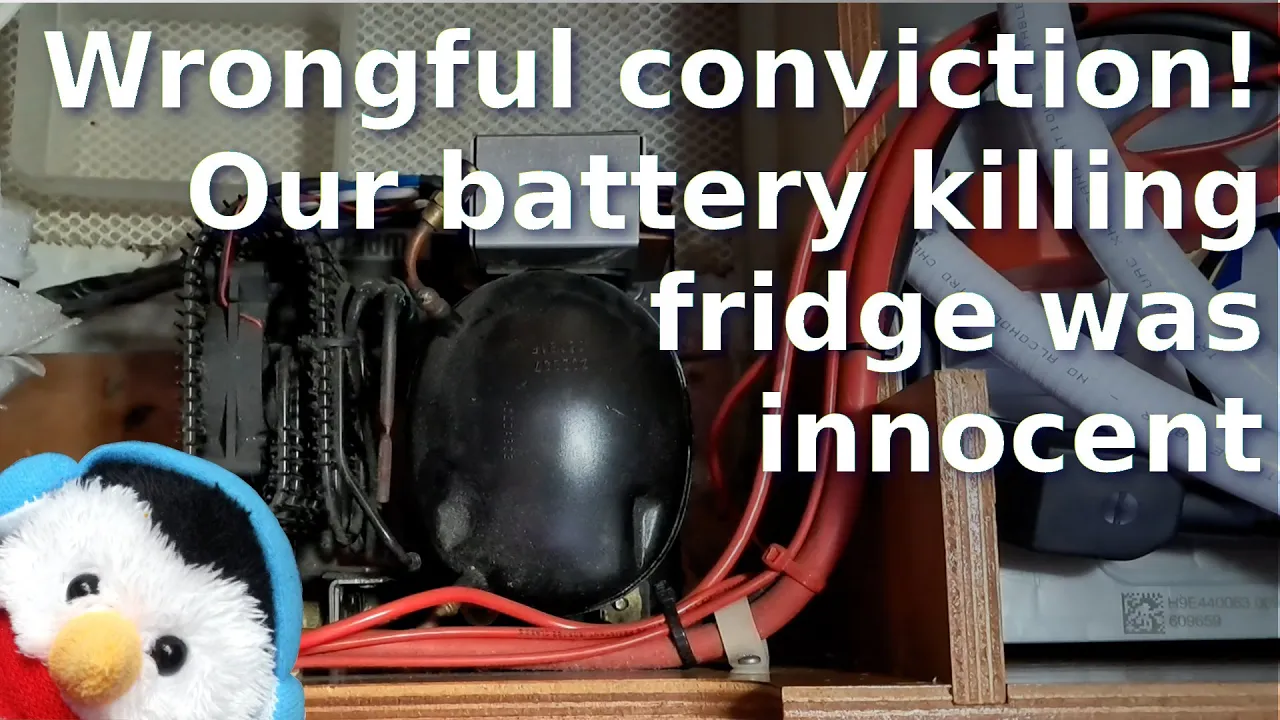
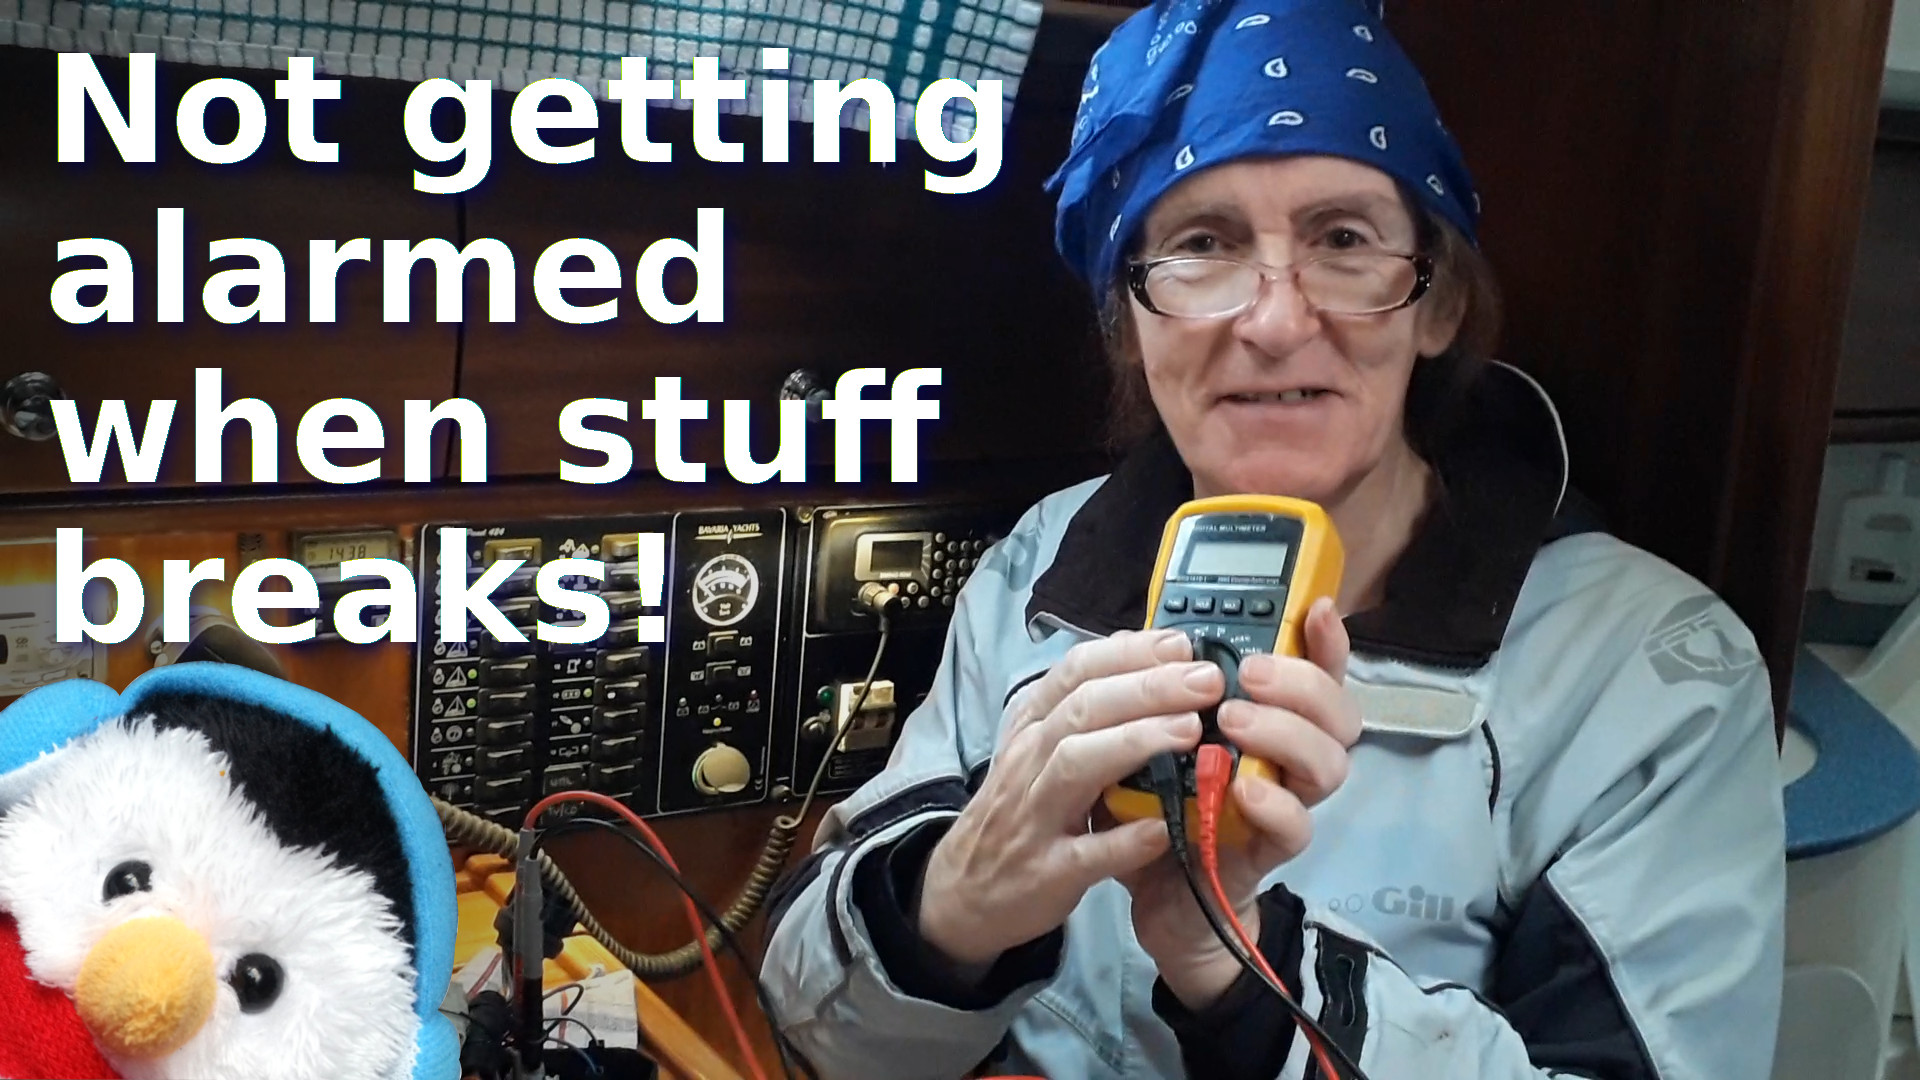
In between storm after storm we managed to get a whole lot done. We installed our engine panel and it is working, on top of that we completed our installation of our DC-AC convertor.
Engine panel
Last week we decided to install our engine panel into a piece of acetate, then fix that to our binnacle, the main reason for this is that the engine panel is quite brittle and two of the corners are ruined. To fit the panel to the acetate we used a variant of Sikaflex. We used this particular sealant because it is like glue and we wanted this seal to be permanent. For attaching the panel to the binnacle however we used a marine sealant, because this is a component that is serviceable so you need to be able to remove it in the future. That future did not take long because once it was all connected up and sealed, the unit stopped working but if we moved the main connector then it would work. So we removed the panel and looked at the main connector to find that one of the connectors was corroded. We cleaned that up and we installed the panel again and this time the unit consistently worked. Happy days. Our engine panel is a good example of the issues you get with intermittent faults in that you have to take everything apart clean everything and put it all back. We missed a connector and that was enough to cause the problem.
New camera equipment
One of our subscribers has given us new camera equipment. So we now have another small action camera, as well as a 180° fish eye action camera. These plus the extra brackets are just going to help us so much to create better stories for our blog.
Prudence our channel mascot loved the new equipment and she was determined to have a go, so she strapped one to her head and had a go.
Installing the DC-AC convertor
We continued to install the convertor, adding the breaker switch and making sure that everything was working first, the tips discussed in this video were:-
- Wire requirements - As a rule of thumb the higher the current load, the thicker the wire needs to be.
- Bend radius - With a thicker wire you need to make sure that any bends that the wire makes are gentle
- Type of wire - With a marine installation always use multi-strand wire as single core wire is brittle and prone to breakages
- Masking tape - If you are not going to instal a wire straight away, cover the end of the wire with masking tape
- Continuity test - Check everything out by doing a continuity test, before you wire everything up.
- Mounting of components - Think about where you are mounting your components. Access, and how they are interacting with other things on the boat like walkways and items that open and close.
- Wire stripper - If you don't have a wire stripper then you can use a blade to score the insulation then pull it off, that way you do not break any of the wires
- Turn off power - If you are going to do anything with power turn off all the electrics, so for us that is the AC power in, the solar panels and the DC power circuit
- Inspect connectors - While you have the power off, inspect connectors, especially connectors that have a high current running through them. Sand with an Emory board if required
- -ve off first - Remove the negative wire off the battery first and then the +ve. When putting the wires back the +ve goes on first and then the -ve


