Installing AIS

One of the items that we have wanted for a long time was AIS, but there are so many options to choose from that it was difficult to decide which solution was right for us. So to let us decide we created a comparison chart that had all the various features we wanted and the cost of the different solutions.

For us we wanted

    • AIS Receiver, so that we could see other ships in our area
    • AIS Transmitter, so that we could transmit our position to other ships
    • The AIS information in the cockpit so that we could see what other vessels were doing in the location that we wanted to have that information
    • The AIS Information at the chart table so that you could contact them via radio, if the need arises
    • Value for money, so that we didn’t speed too much

Solutions we looked at included ones with WI-FI capability, one that came with a dedicated screen and even a new radio that has AIS built in. In the end we went for what is called a blind solution that could connect to our NMEA 2000 Network.

Once we had all our equipment assembled, we rigged up a test system with the GPS antenna inside, the VHF antenna up the mast and all the other cables installed. It was really good seeing all the other vessels that had their AIS on, it was particularly pleasing seeing this information on both our Garmin chart plotter which is at the chart table and our B&G chart plotter in the cockpit area, so once we had tested receiving, it was time to test that we were transmitting, so for that we went to check with a neighbouring yacht that had AIS installed. It was really good seeing our details, on his screen. So once the system was checked it was time to start the installation.
Parts used

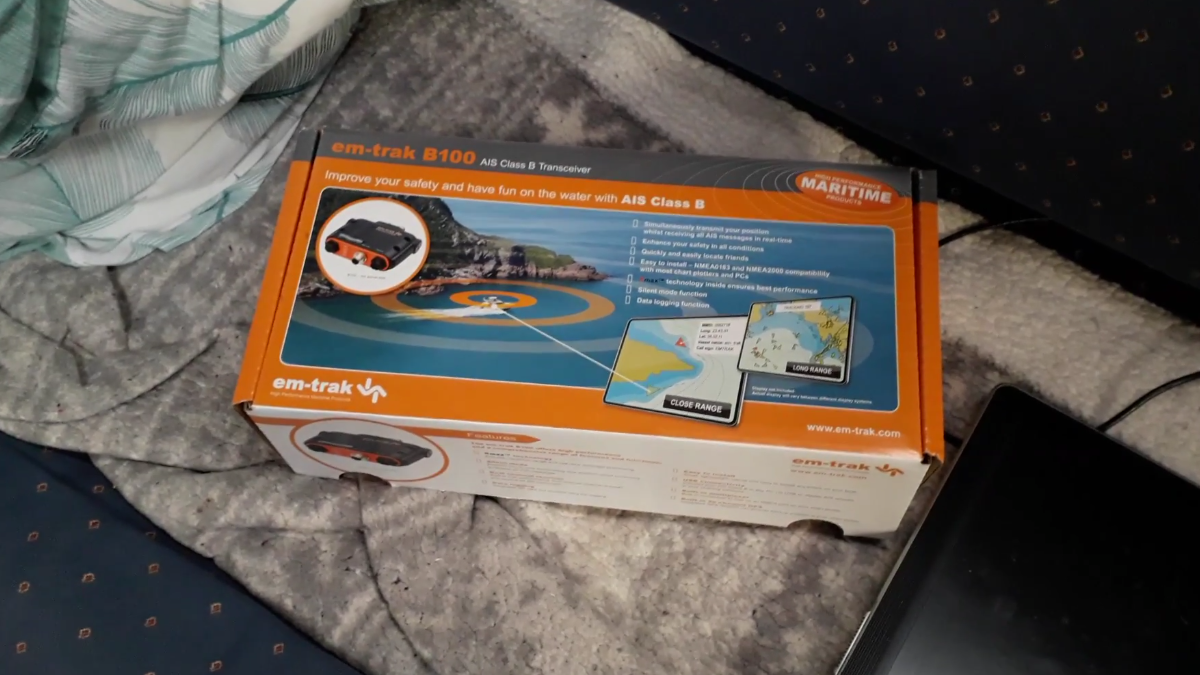
EM-TRAK B100 AIS Class B transceiver
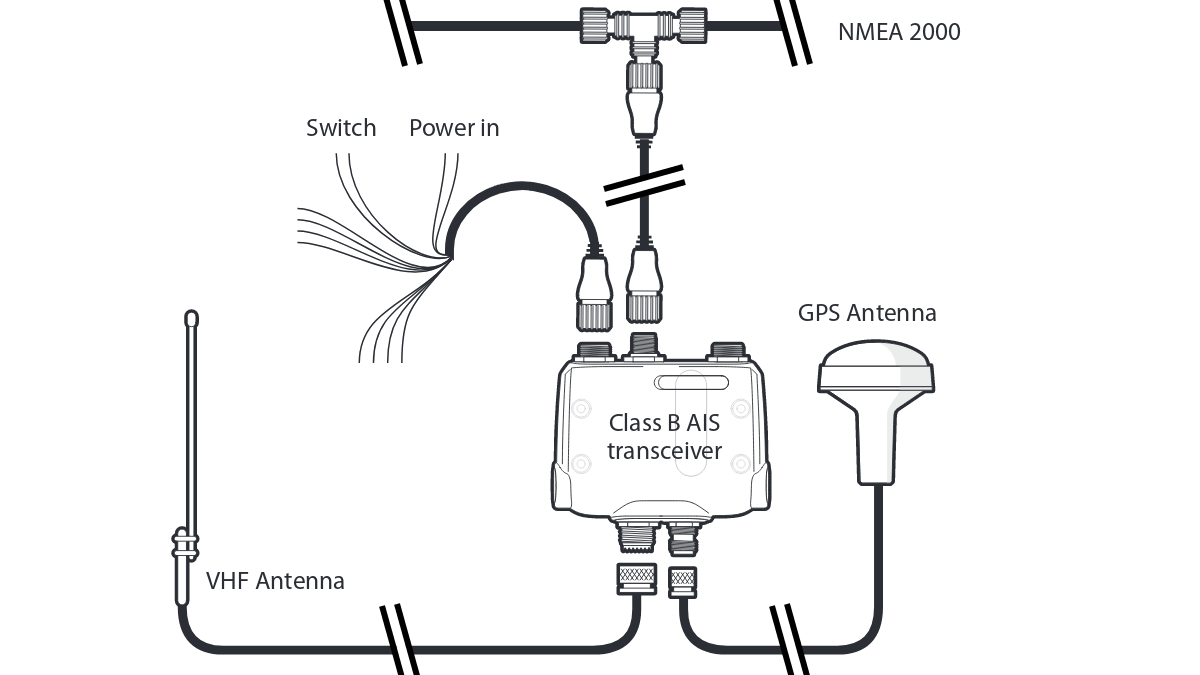
  • EM-TRAK B100 AIS Class B transceiver - This comes with the GPS antenna, a power and data cable and another cable that allows you to connect to a PC
  • AIS aerial - There are lots on the market, but make sure you get one that works in the AIS frequencies and comes with a PL259 terminator. You can choose a splitter instead but we decided an aerial was what we wanted.
  • Raymarine SeaTalkNG DeviceNet Female Adaptor Cable 1m - A06075 - This was used to connect the AIS transceiver to the NMEA Network

Additional parts for our installation

  • Raymarine SeaTalkNG DeviceNet Female Adaptor Cable 1m - A06075 - This was used to connect the Garnin GPS 551 to the NMEA Network
  • Raymarine SeaTalkNG Backbone Cable 9m - A06068 - This was used to connect the instruments in the cockpit area to the instruments at the chart table
  • Raymarine SeaTalkNG Backbone Cable 1m - A06034 - This was used between two T pieces
  • 2 off Raymarine SeaTalkNG T-Piece Connector - A06028 - We used these as we already had them, plus we needed 2.25m of cable between the Garmin and our location for the AIS unit.

Installing the network

NMEA Network

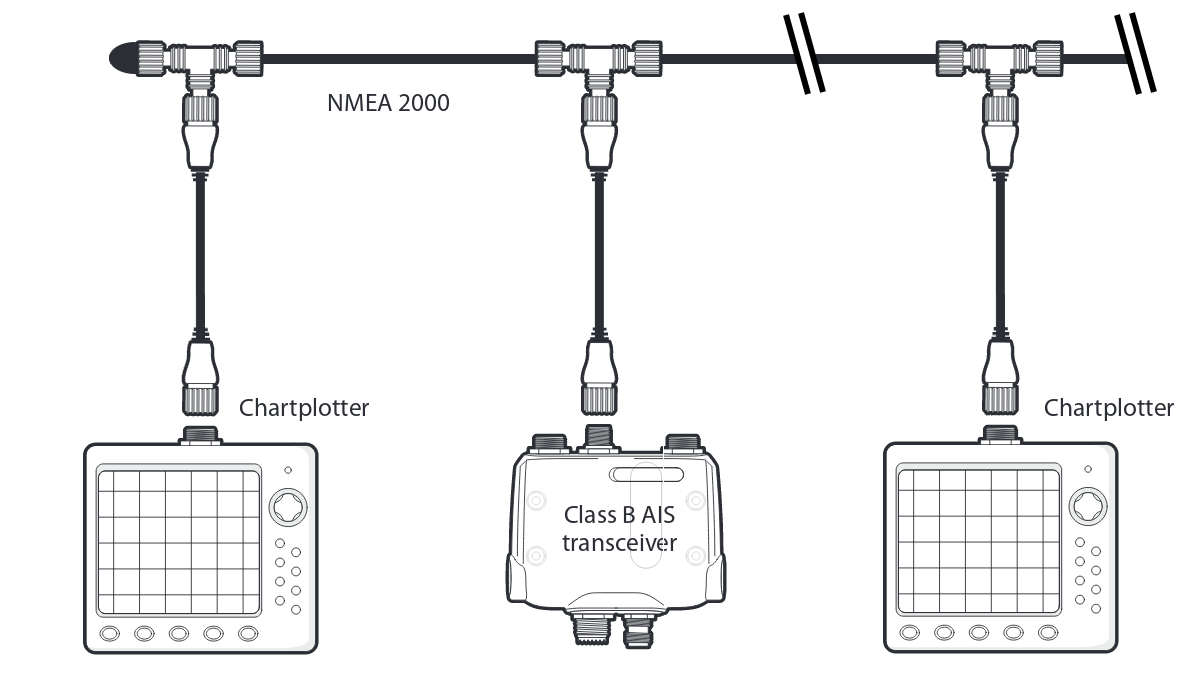
Extending the Seatalk NG network, which is a NMEA 2000 variant is incredibly easy as it is of the plug and play variety, so we just needed to remove the terminal on our existing network and plug in the new 9m backbone cable. This we ran around the boat all the way to the chart table, where we plugged it into a smaller network of two T-pieces and a 1m backbone cable.

Using the Nmea 2000 Network meant that we could see the AIS information on both of our chart plotters. The one in our cockpit area and the one at our chart table. This was exactly what we wanted to achieve, so we are very happy with this solution.

Installing the aerials

GPS and VHF aerial

Installing the VHF Antenna

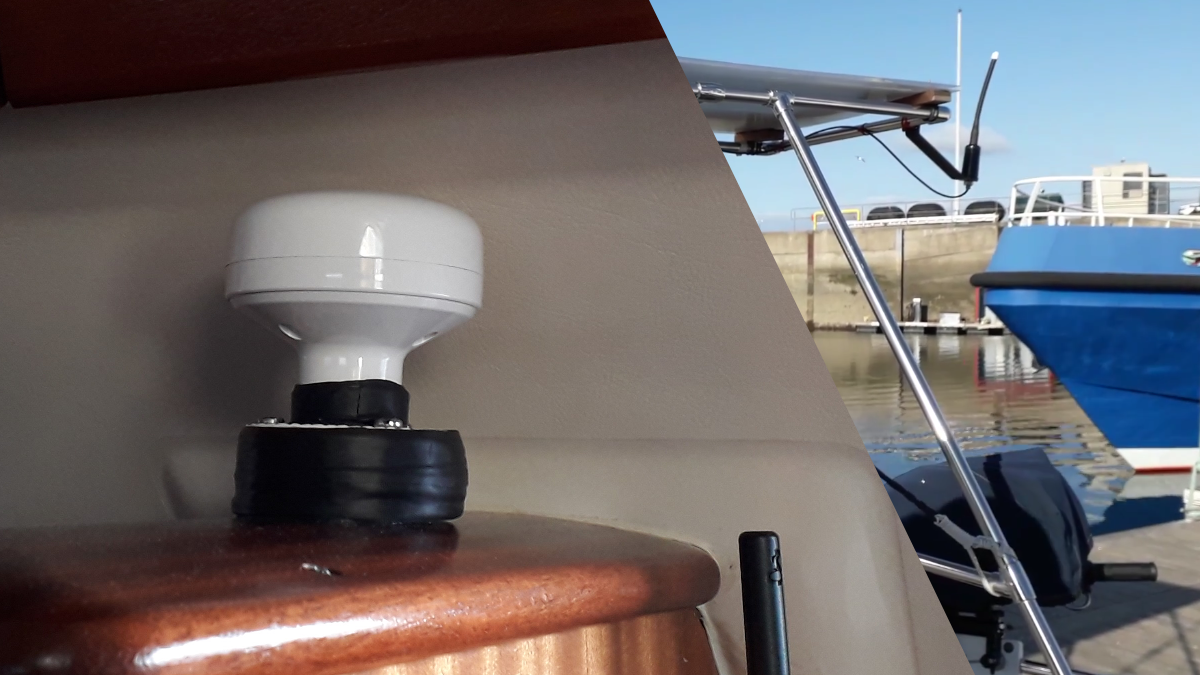
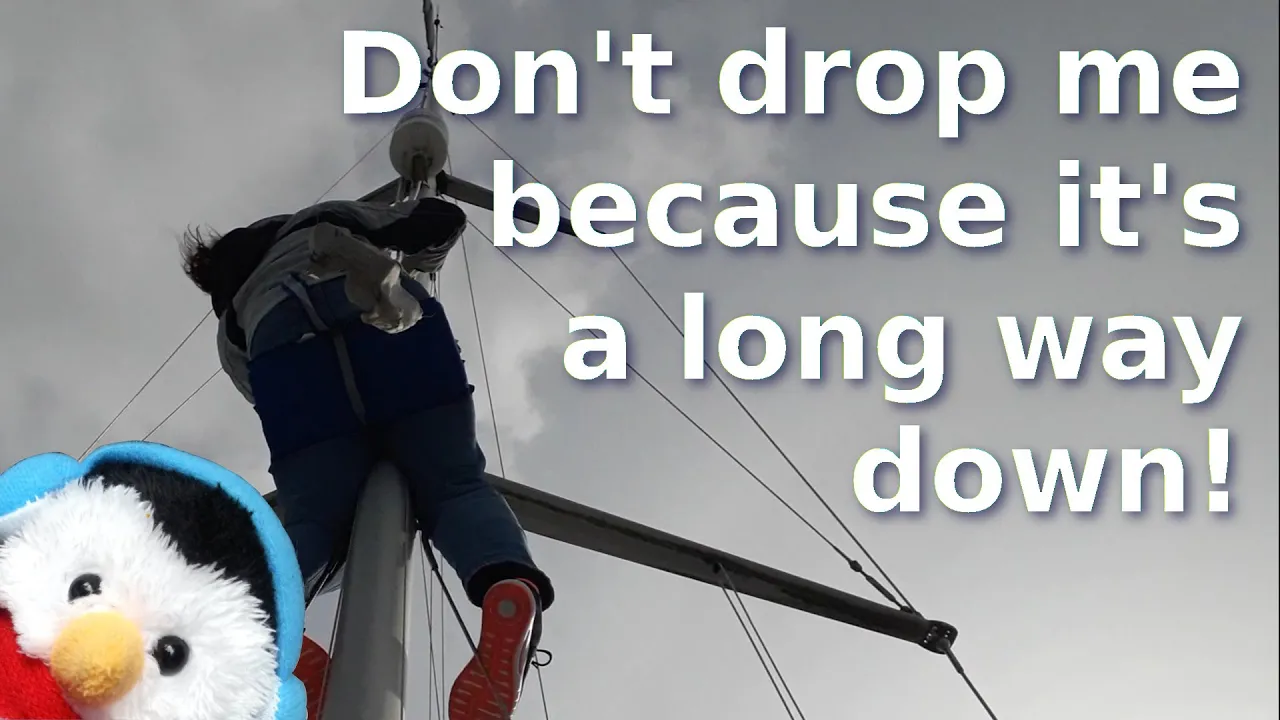
We installed our VHF aerial on our solar arch as it is fairly high up. We put the bracket on so that it ran down rather than up so that as little shadow fell over our solar panels. We used a cable gland to protect the hole going into the boat.

GPS Installation

In our test rig we had the GPS antenna inside Salty Lass, so we decided to keep the GPS antenna inside in the final installation, so I used a little bit of Salty Lass’s core to make a mounting bracket that could be screwed to the top of a cabinet. Beverley was very annoyed with me because I installed the bracket that I had made into the top of the cabinet, then I screwed the top of the cabinet down.

Installing the Em-Trak B100

Installing the Em-Trak B100

Prior to installation you will need to configure the device with your name and your MMSI number. To do this you will need either a PC running windows or a Mac. Once you have installed the specialist software onto your computer, you will need the PC cable supplied to connect your PC to the B100 device. You only have one chance to configure your MMSI number, so make sure you have it right.

You will need to supply power to the unit and for that you will need the specialist power and data cable supplied. We used a separate switch on our switch panel to power our AIS system as we wanted to turn AIS on after we had left the marina, where too many other vessels were within collision range.

When we were wiring the system in, we also added a switch which allows you to turn off transmit. We called this switch our stealth mode

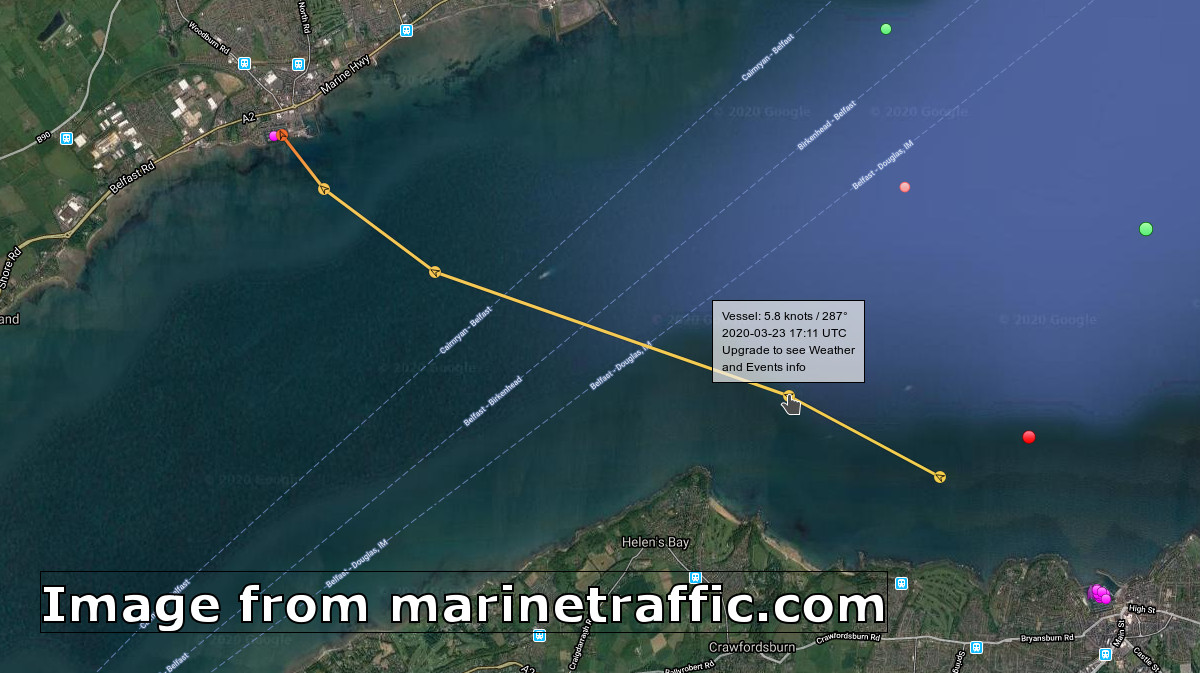
Our first sail as seen on Marine Traffic

https://www.marinetraffic.com/en/ais/details/ships/shipid:6160451/mmsi:235103597/imo:0/vessel:SALTY_LASS

What is really good about adding AIS to our boat is seeing our track on Marine Traffic. Now we can share where we are in the world with our friends and followers.

Things to Note, Hints and Tips

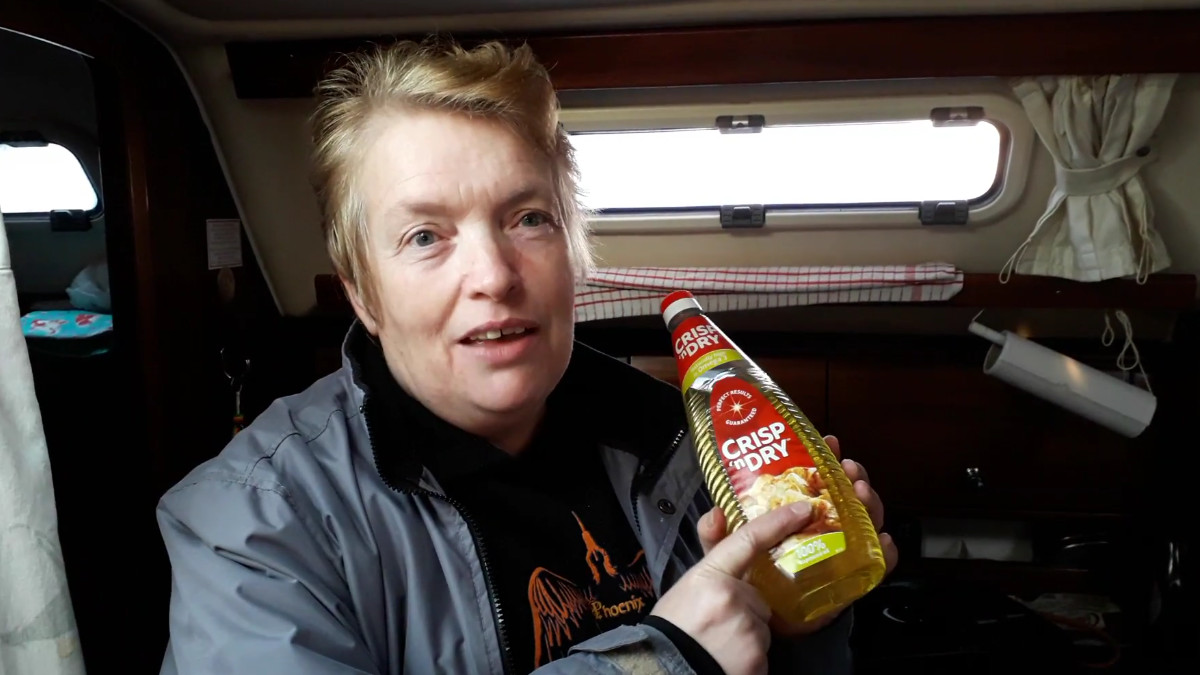
Rubbing oil on a cable makes the act of pulling a cable through a grommet easier.
  • Make sure that you mount the aerial vertically
  • You will need a computer using windows or a MAC to configure the system
  • Power must be connected to the NMEA 2000 network before the AIS can share its information with other devices on the network
  • It is wise to have a dedicated switch for the AIS, as you will not want it on leaving or entering a marina as you will be too close to other boats
  • We found that rubbing a cable with a little oil meant that the cable went through the cable gland very easily. We used vegetable oil as that will degrade with time.
  • Any time you are running cables always put in a mousing line, it makes cable installation so much easier later.
  • Brackets can be installed upside down if that makes your life easier
  • If you are using power tools of any kind, tie a piece of string around them so that they can’t fall into the water.
Categories