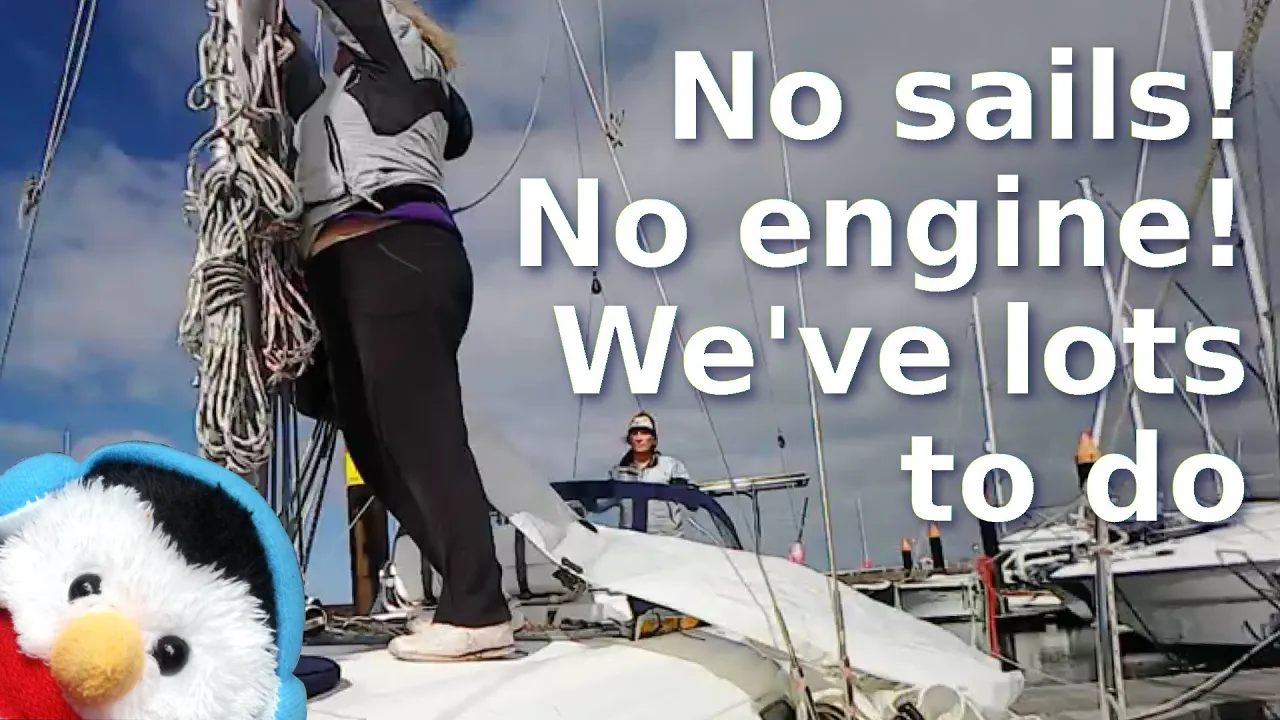
Well the electrics were in, so now it was time to get my trusty sewing machine out and put it to good use building our extension. So with me taking up all of the room in the main cabin Beverley went out with Buzzy our drone and got some cracking shots of us in the marina. So for once we have started the year organised, as we have the perfect shot of Salty Lass for the January page of our 2022 calendar. Very much dought that this will last, but at least we have started on a good foot. After she helped me where she could taking measurements, cutting canvas, she was banished to the V-berth to edit videos
Building our extension
Realistically you can buy a boom tent, or a habitent but we wanted our own so this is how we did it.
Materials
- We bought Sauleda uncoated marine grade acrylic canvas from Point North. It is the same fabric as we have every well else, so ot will go with what we have
- Grommets
- Miscellaneous pieces of webbing that I have have in my sewing supplies. Just make sure that it is marine grade, I have used webbing that is not marine grade before and they barely lasted a season
- Make accurate measurements of the area that you will be covering
- Make sure you have plenty of light. If you need extra, use a head light as they will shine onto your work
- For areas that you are putting grommets through, use deep seams, so that you have plenty of room for the grommet to go through
- Pin at 90° to the seam, with the head of the pin on the inside. When you sew, you sew a seam close to the outside, so you want your pin head opposite to this so that you can easily pull out the pin
- If you need to check your measurements again, do so, Check twice, cut once
- Allow for angles, of anything that goes through the canvas, For us, our backstays are at an angle to how the canvas will lie, so I gave them loads of clearance.
- Cut Y shaped slits, for items that will be running through the canvas, so that the canvas can be attached around them.
- Sew the fabric back so that you create a larger slot. This can be covered up using a flap, but we went for the simpler solution of using the same cord, to attach the two ends together.
- We are using our dinghy halyard as one of our hoists so on the outside we covered the ends with leather while on the inside we sewed the cordage through the fabric and some webbing for more support.
- With the main halyard which takes up more of the weight of the tent, we also added a piece of fabric for more reinforcement
- When you are adding the webbing, consider having a loop on the inside, I put in a double loop, the one on the inside for a handle that could raise the middle of our extension plus another loop for our light.
- Use webbing near where ropes rub to reduce wear
- We tried plumbing pipes to stiffen the extension, don't bother
As luck would have it, we completed the extension and we endured a force 8 gale for the next three days, but hopefully we will be able to use it soon
