I feel very fortunate, as I always seam to get what I want, we had only been in Liverpool for an hour and already someone was giving me a rib. True, the rib was not in great shape, but it was what I wanted.
I couldn't wait to get started, so as soon as I could I was down to the boat, looking at what needed to get done.
First off was cleaning the rib
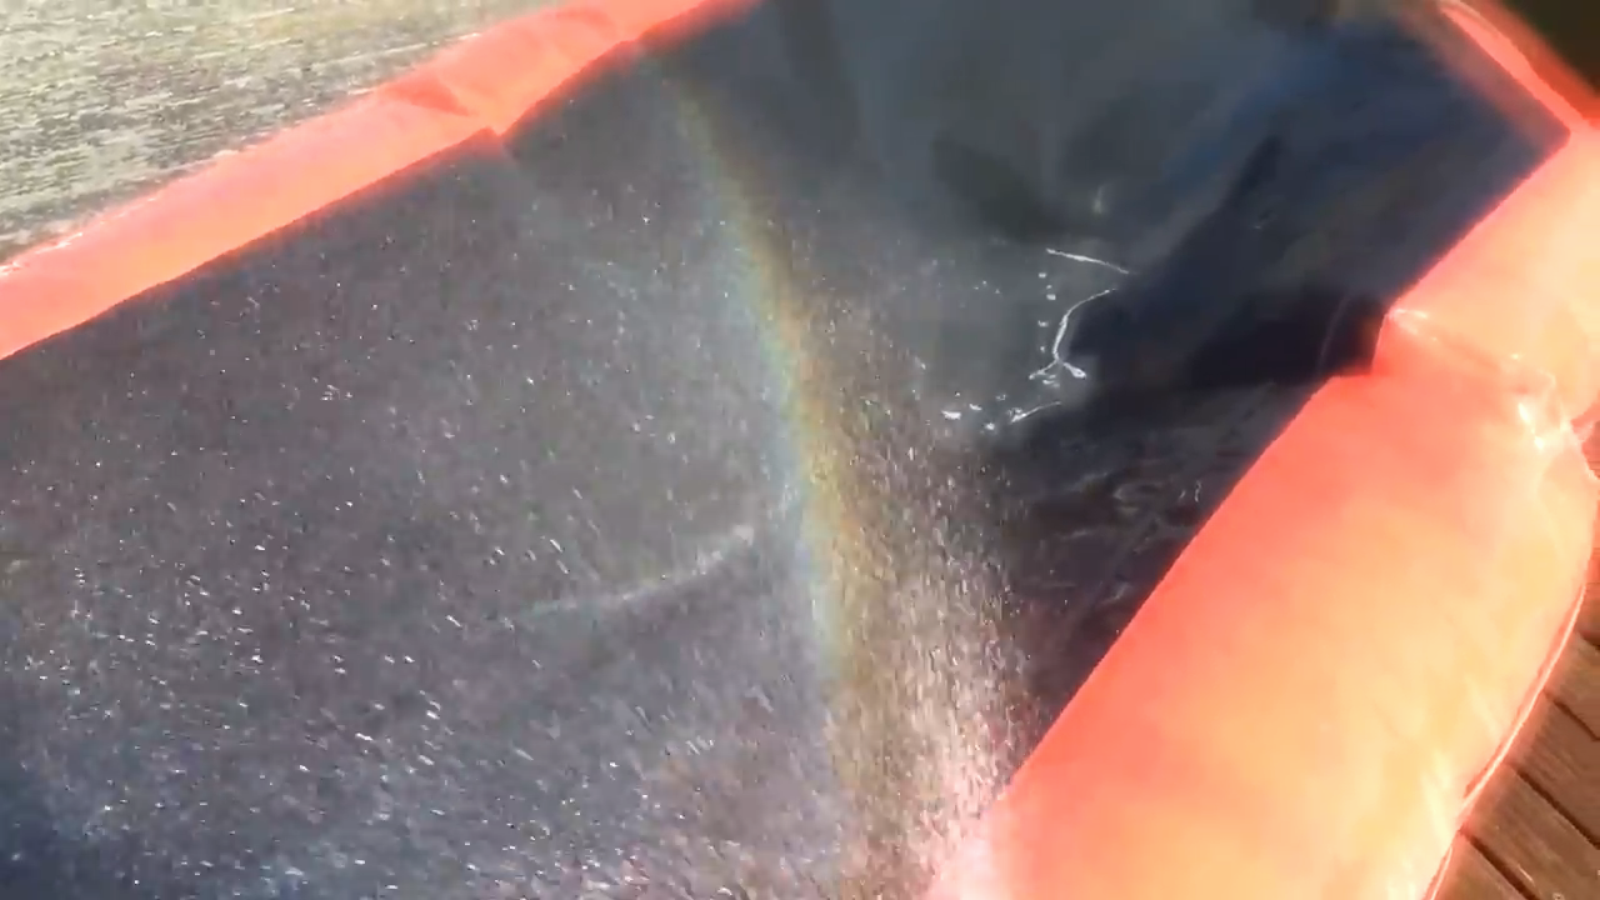
I started with just using water and the jet wash, this got rid of some flaky varnish off the back of the rib and all the dirt that had wedged down between the base of the rib and the sponsones, but overall, it had very little effect on getting the rib clean. However, as I sprayed the water, at the base of the rib, I noticed rainbows in the water, and that made me feel very happy.

Rainbow in the water
So, the water on its own had very little effect on getting the light smearing of oil and diesel off the rib, so next up was cleaning products. Between home and the yacht, we had a variety of cleaning products, so I tried each one in turn. Of all the cleaning products I tried, good old standard washing up liquid, was by far and away, the best product to use. It just got rid of the light smearing of oil and diesel that seamed to be all over the rib.
Second job patching the rib
Although the bubble got the rib clean to a basic standard, if you need to put a patch on, then the rib needs to be really clean. To achieve this I used an Acetone free nail varnish remover. It needs to be acetone free as acetone can affect the surface of the rib. In some applications this must be of use, as you can buy pure acetone at your local chandler.
While patching the rib, I used a variety of patches, I certainly had enough holes to experiment with.
The patches from a bicycle puncture repair outfit. In general, these patches were too small, but if you had a pin prick of a hole, then they could do. they did have the advantage that they were easy to use
Pre-glued parches. These were a set of patches that again you find in bicycle puncture repair kits and you just peal off the projecting layer and stick them on. The glue on these was basically useless, so I had to use, the epoxy I had anyway. These patches were bigger however, so if you had a bicycle puncture repair kit with these slightly bigger patches, then they are better for the small pin prick holes that you get, but use a glue
Emergency Repair kit. This was a huge patch that you could cut to size, so very sensible. With this patch, you need to put epoxy on both the rib and the patch and wait for them to get tacky. For the larger patches, this is the only way to repair them.
Does it stay up?
Having gone over the rib and patched loads of holes, it was time to blow it up and see what happens. After 24 hours, the rib was in better shape than I expected but only one of the three sponsons was reasonably rigid, the other two were quite floppy, so I needed to look for more holes.
Meanwhile, on the pontoon there was chat of a dinghy up for sale, so we thought, lets take a look. The dingy that was up for sale, proved to be in good order and the guy who was selling it wanted £250 for it.
Now, to sort out the free dinghy, it would cost us £50 for the new floor, £50 at least for the epoxy to make the boards last more than a season and at least £50 - £80 for the special rope and tabs that were needed to secure the rope to the dinghy. On top of this there was no oars, so all in all we were looking at a bill of at least £200 plus the work. So it was no competition, we bought the dinghy
The free dinghy we gave to a guy who already had wood to spare, so it was not wasted.


