Keel
We were in the yard and there was a whole host of extra jobs to do. One of the jobs that had not been planned for was the state of the keel. As soon as the keel had dried out, the copper coat, just started cracking and on further inspection it just flacked off. Once we identified the problem, we were able to remove all the paint in an hour. I was on the port side, while Beverley took the starboard side. We both loved the long strips of paint that came off. These are both worrying in that it was so easy to obtain big strips of paint, but they are very satisfying too. Beverley and I had a little competition going as to who would get the longest strip. I thought that I got a very respectable strip at 20cm in length, but Beverley was the clear winner with a strip measuring 35cm. I wouldn't mind, but hers was nearly twice the size of mine. Once all the paint was removed, we needed to look at the pitting that was on the keel. The pitting itself wasn't a problem because the paint that the yard was providing would stick to anything, but pitting can indicate areas where the keel has larger issues. So in one or two places as I ground the pits out, larger flakes of keel was removed. The other issue with the keel was the seal around the keel and the hull of the boat. The seal on the boat was in good shape, but the seal to the keel was barely holding on. I was loathed to remove the seal, but sometimes you have to take the bull by the horns and go back to bedrock, so that you can rebuild.
Once the keel was prepared Beverley painted the keel with a two part epoxy paint that is safe to paint on aluminium, so could be used on the sail drive too. This particular paint sticks to everything, so id a good pain for painting keels which can be quite difficult to paint. Once the two coats of undercoat was dry, I painted both the keel and the sail drive. I was told that the paint that we would be given to paint the main keel would be blue so I choose blue for the sail drive paint, but the keel paint turned out to be navy blue, while the sail drive paint turned out to be sky blue paint so not the same blue at all. The guy at the yard gave me a painting lesson, which I did do a little piece on, but Beverley cut it well short. Most of our footage ends up on the cutting room floor and to be truthful most of it deserves to end up there.
One of the things I should of invested in before carrying out the job was a gardening mat because my knees really took it in the neck.
Removing through holes
While I was preparing the keel, Beverley was tackling the through holes. She used the method where you put a wooded bung in the hole and then use a hole saw the remove the outside fitting. If you use this method, then please
- Use a pilot hole. Beverley failed to do this, so the hole she made was anything but straight
- Use drill bits that are fit for purpose. I think the ones Beverley used were for wood and were a little but blunt to be truthful
Even when she had removed the outside gland of the through hole, she still had to use the grinder in some places, so maybe using a grinder in the first place, would of saved time. After much cursing and swearing and a few hours work the through holes were removed. They were in a dreadful state and part of the pipe where it was attached to the black water tank broke off, so I'm really glad that we sorted these through holes out now.
Greasing the Halyard
One of the jobs that we sorted out ourselves was the cleaning of the main furling mechanism. So one evening I just sat on the floor and cleaned all the old grease off, which had picked up a lot of grit. I paid special attention to the ball bearings, but they were all in good shape. Once it was all cleaned, our rigger put it all together, while Beverley added the special grease, that needs to be used. One of the areas that needs to be greased in under the furling mechanism, so while the furling mechanism is in pieces in the ideal time to add the grease.
Mast headlight
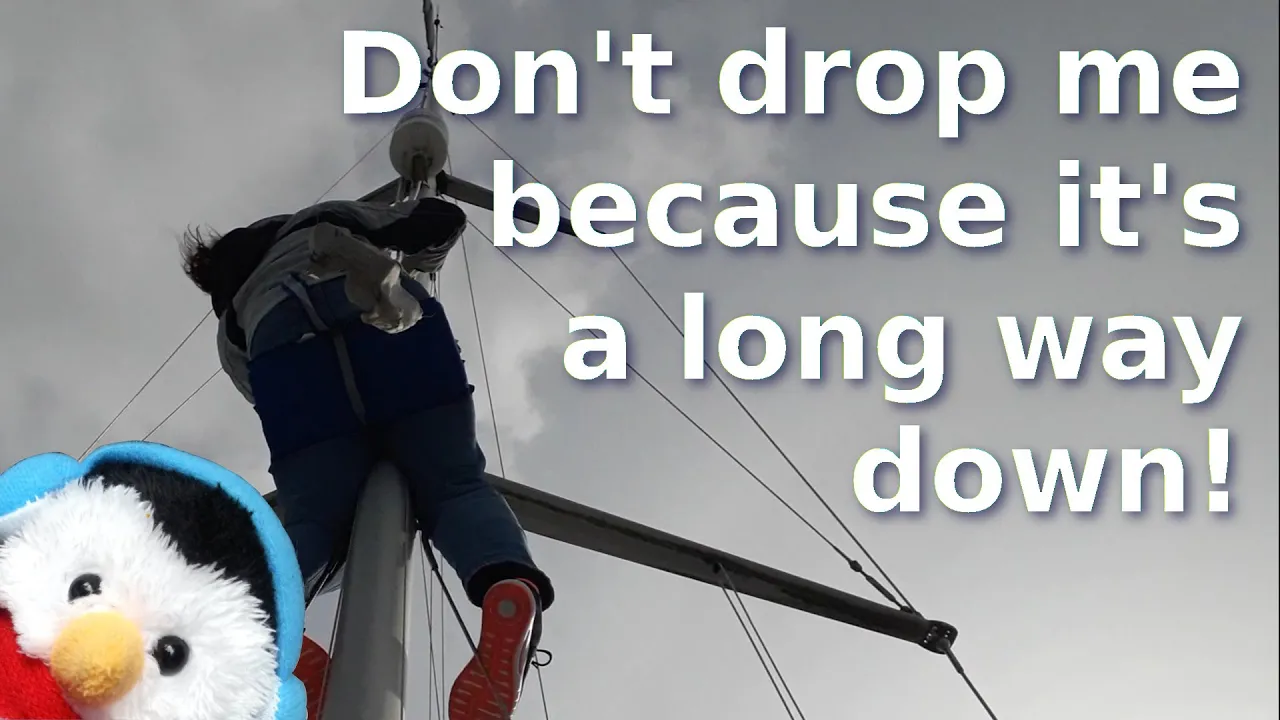
One of the jobs that I was really looking forward to was removing the mast headlight which was a tri-radial. What we wanted was a combination light that could be used for both. So the one we got was constructed using LEDs, this meant that you only need the current two wires running up the mast.
Other jobs
Other jobs that we carried out was replacing the Windex and removing the TV aerial, which we just replaced with a mousing line
